
EmailTooltester is supported by readers like yourself. We may earn a commission when you purchase through our links. Of course, this won't increase the cost for you.
Chances are you’ve heard some great things about GetResponse and now you are ready and raring to get yourself signed up and stuck into the tool. Overall it’s a very user-friendly tool, with tons of features for you to explore. Here at EmailTooltester, we think quite fondly of GetResponse. We even placed them in third out of fourteen providers in our best email marketing services ranking.
Ready to dive in? In our step-by-step guide to GetResponse, we'll walk you through your initial account setup, to creating your first list and then sending your first email campaign. How exciting!
Step 1: Signing up to GetResponse
Setting up your GetResponse account is a straightforward process that starts with a few simple clicks. First, head over to the GetResponse homepage. Enter your email address and click “Create a free account.”
By signing up here, you’ll automatically be given a free trial of their premium features (without having to provide any credit card details upfront). This gives you a chance to explore the tool and its premium features before you fully commit to a paid plan (check out our GetResponse pricing article for more information).
After signing up, you’ll need to check your inbox for a confirmation email from GetResponse. Then once you’ve hit “Confirm”, you'll be taken back to their website, where you’ll be asked for some basic information such as your company name (optional), country, address, and phone number (also optional). Once that's done, you’ll be able to start exploring your account straight away.
Exploring Your Dashboard
Now you are logged in, you'll land on a welcome page where GetResponse suggests a tour of its key features. They offer to show you around the following: audience building, email sending, or store promotion. We recommend taking a tour of these features if you are new to the email marketing world.
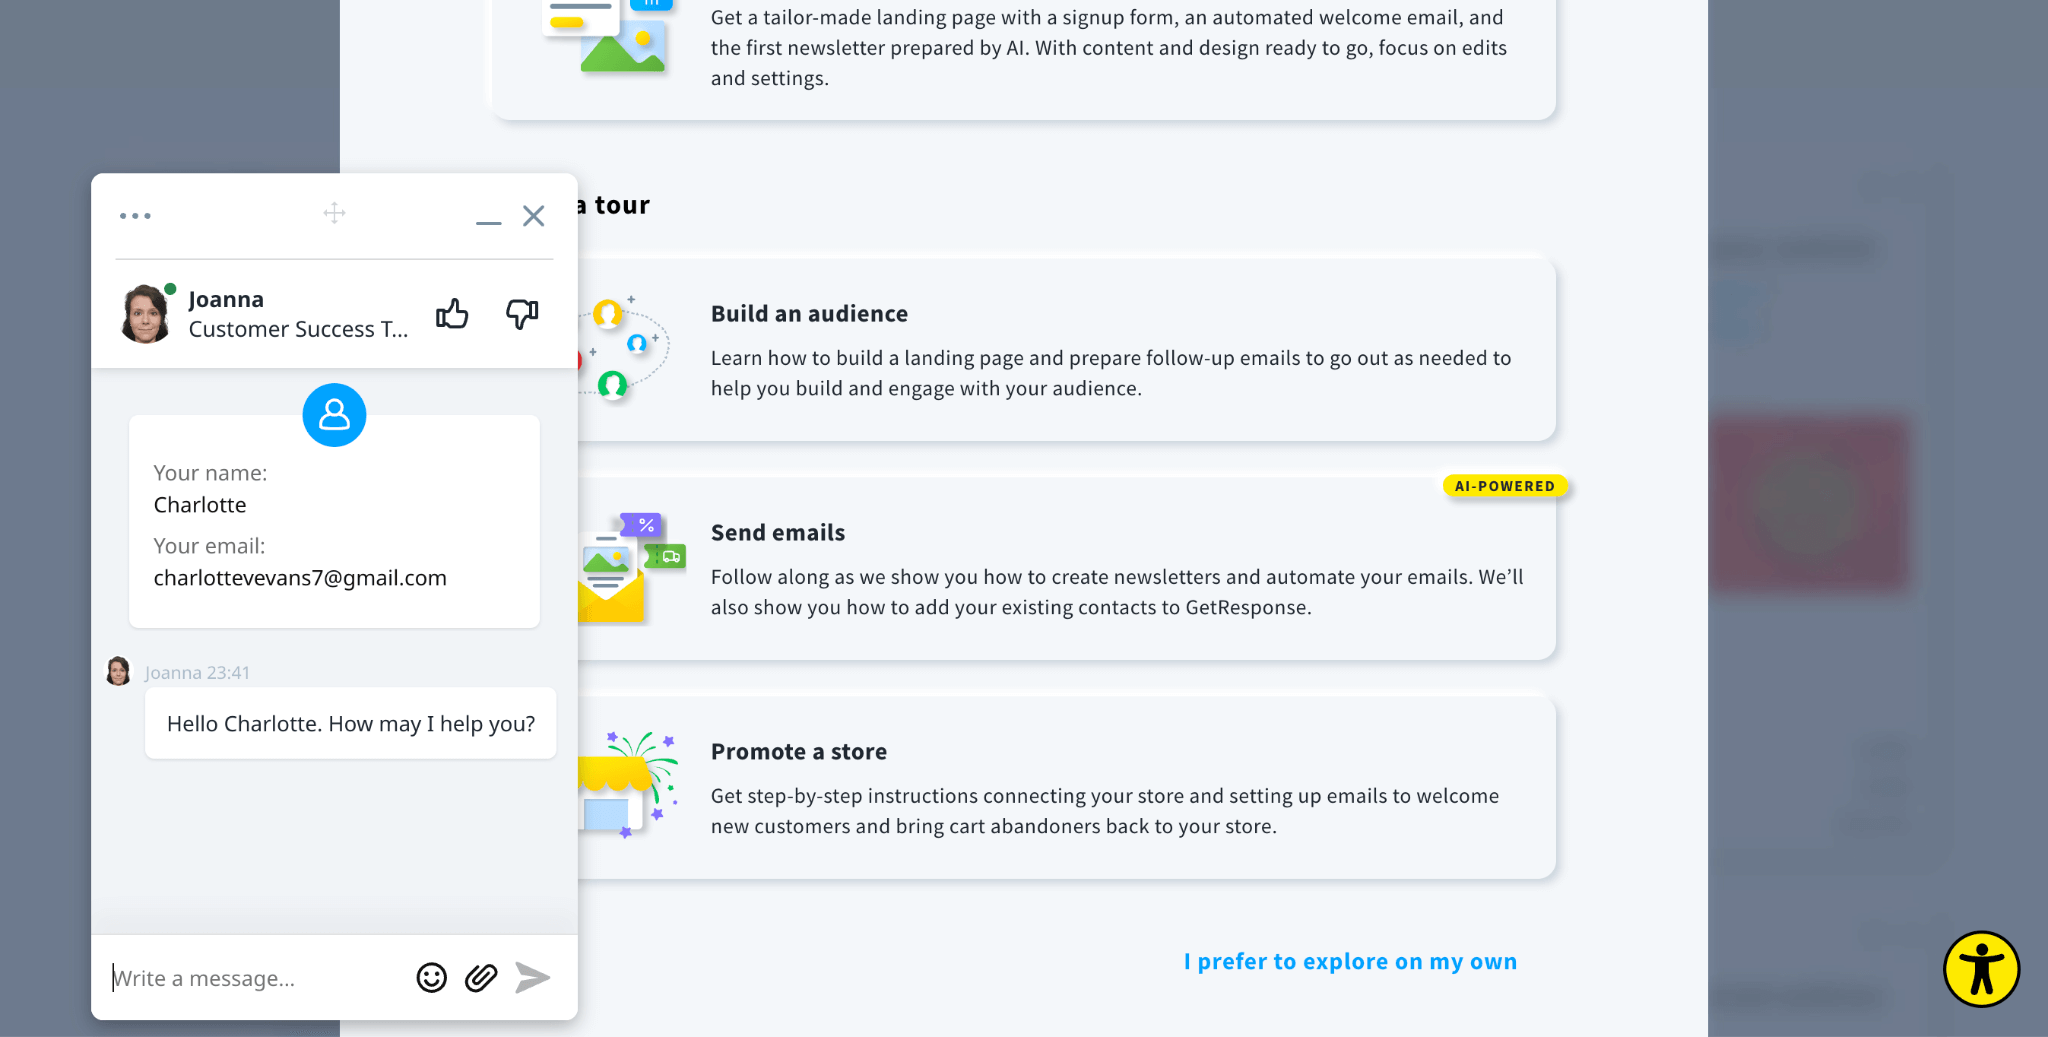
However, if you are a little bit more experienced and prefer to explore each feature independently, simply click on the button in the bottom right-hand corner and you’ll be taken to your own individual dashboard.
Don’t worry, if you find yourself getting a little bit lost or confused along the way, you’ll be glad to know that there is a helpful live support chatbot available to answer any queries you may have. We’ve also taken advantage of their live chat features and thankfully, they are very responsive.
Step 2: Navigating Your GetResponse Dashboard
The dashboard is your control center for all things GetResponse. It's designed to be user-friendly, making it easy to access your essential email marketing tasks.
You'll find a quickstart checklist in the bottom right-hand corner, guiding you through importing contacts, creating your first email, and welcoming subscribers. We'll cover these three actions in this GetResponse tutorial.
Customizing Your Dashboard
Within the GetResponse email marketing platform, you can customize your homepage, ensuring that you have easy access to your most crucial email marketing tasks.

As you can see from the screenshot, your dashboard comes with the following Quick Actions:
- Create newsletters,
- Create forms and popups,
- Create landing pages,
- Add new contacts,
- And lastly, create autoresponders.
You can move these around to the order that best suits you and your email marketing strategy. You’ll also have the option to add and remove actions, or even remove the widget altogether. We recommend making sure your top actions are available there in your quick actions tab, just to make your life a little easier.
Access to Resources
As you can see, the dashboard includes a Tips and Tricks section with video tutorials, help center articles, and other resources. These resources, combined with their live chat feature, show users just how committed GetResponse is to providing support and guidance to their audience. Great work guys!
Step 3: Building Your First Contact List
With your general settings in place and some dashboard exploration, it's time to dive into the heart of email marketing – your subscribers.
To create your first contact list, you need to head over to the Contacts tab and click the “Create list” button.
All you’ll need to provide here is your list name, so make sure that the name makes sense and that you’ll easily be able to identify it later. Remember, simplicity is key when naming your list, and ensuring your contacts are well-organized.

Uploading your contacts
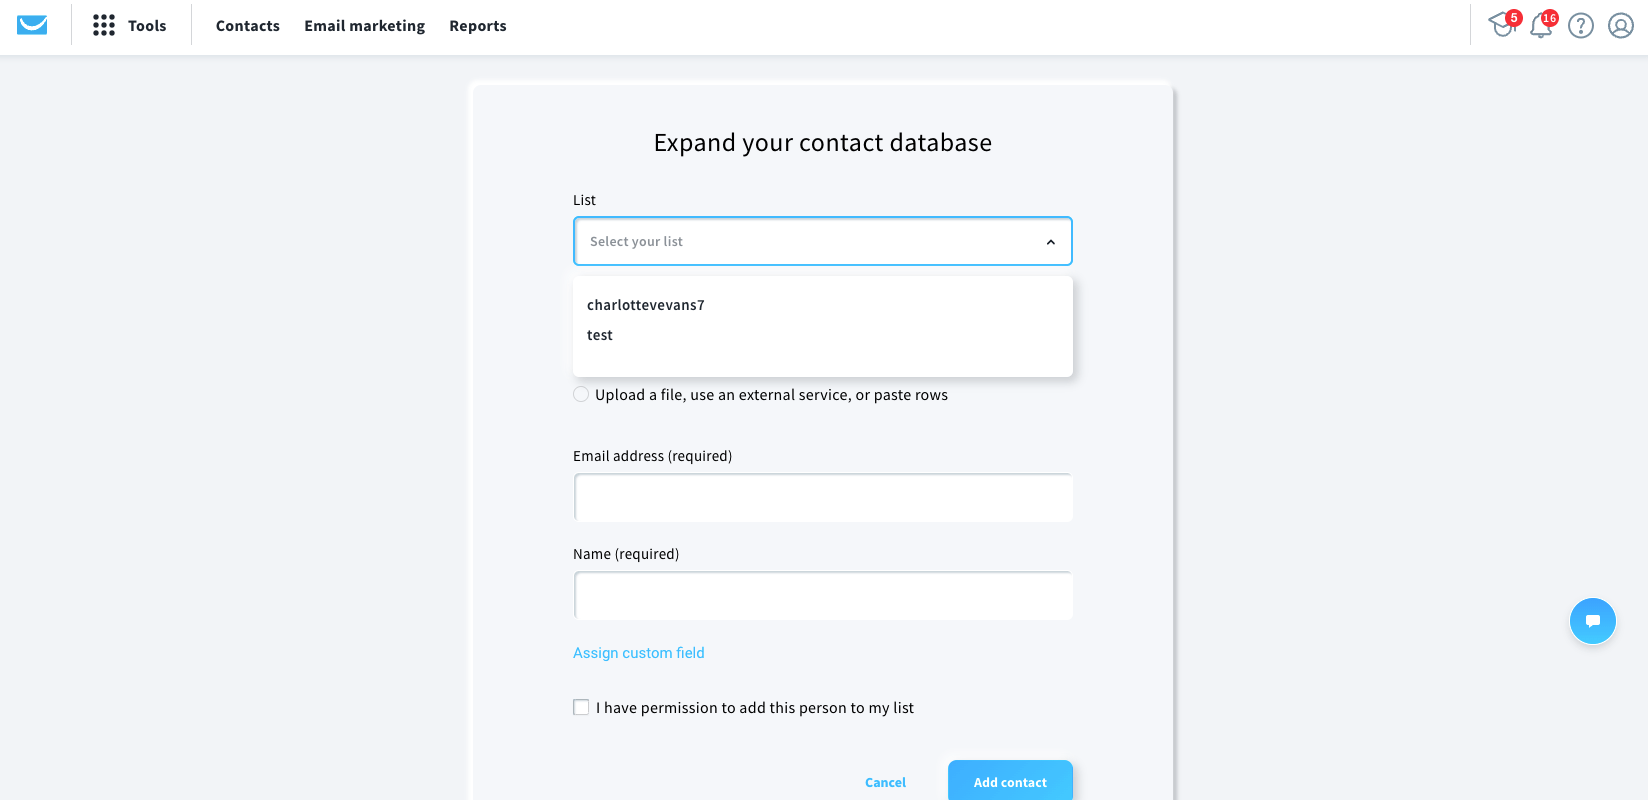
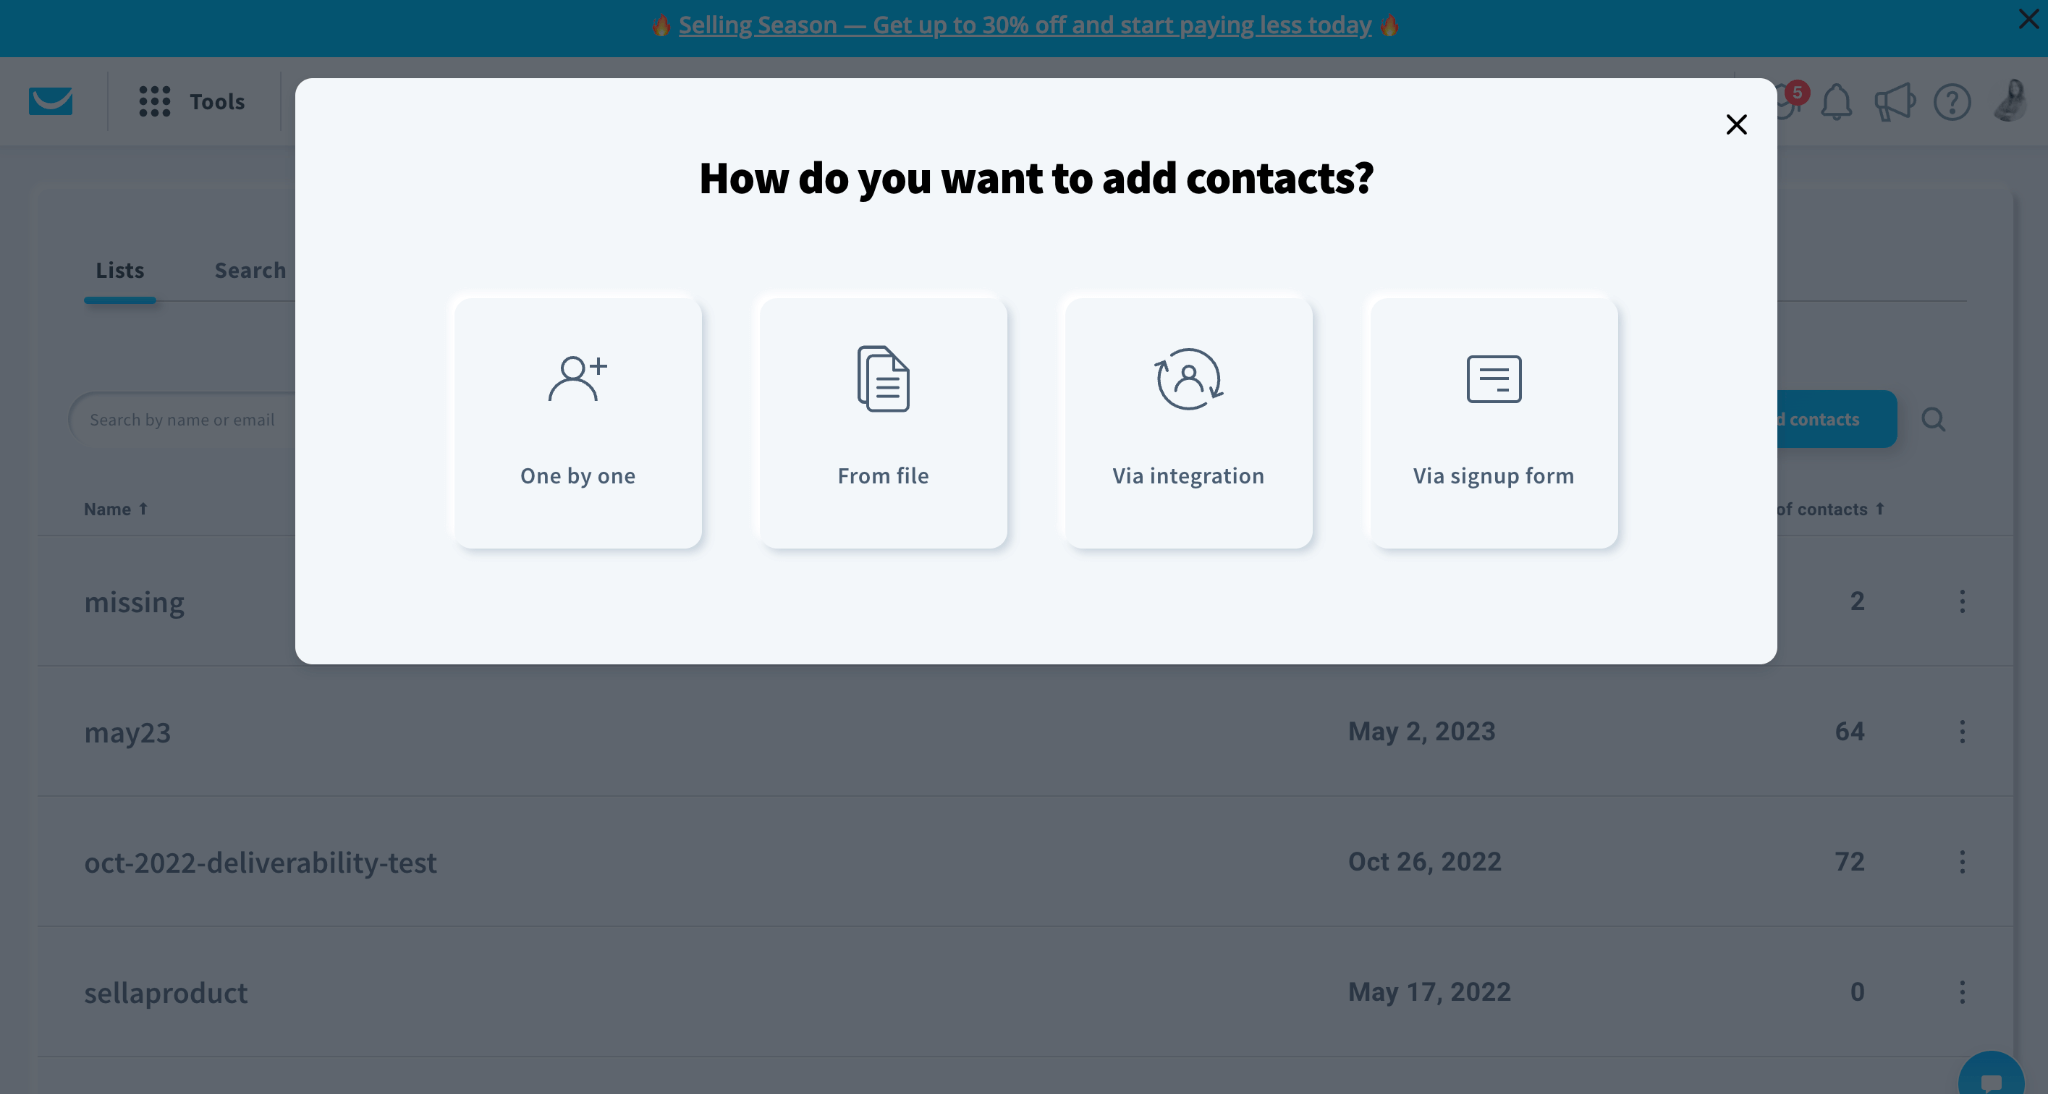
Next, click on “Add contacts.” Select the list you’d like these contacts to be a part of and select how you’d like to upload your contacts. You can choose from the following upload methods:
- One by one (individually uploading your contacts)
- From a file (using a CSV file via excel or Google Sheets)
- Via integration (using a third-party app such as WordPress or Shopify)
- Via Signup form (uploading your contacts from a popup or form on your website)
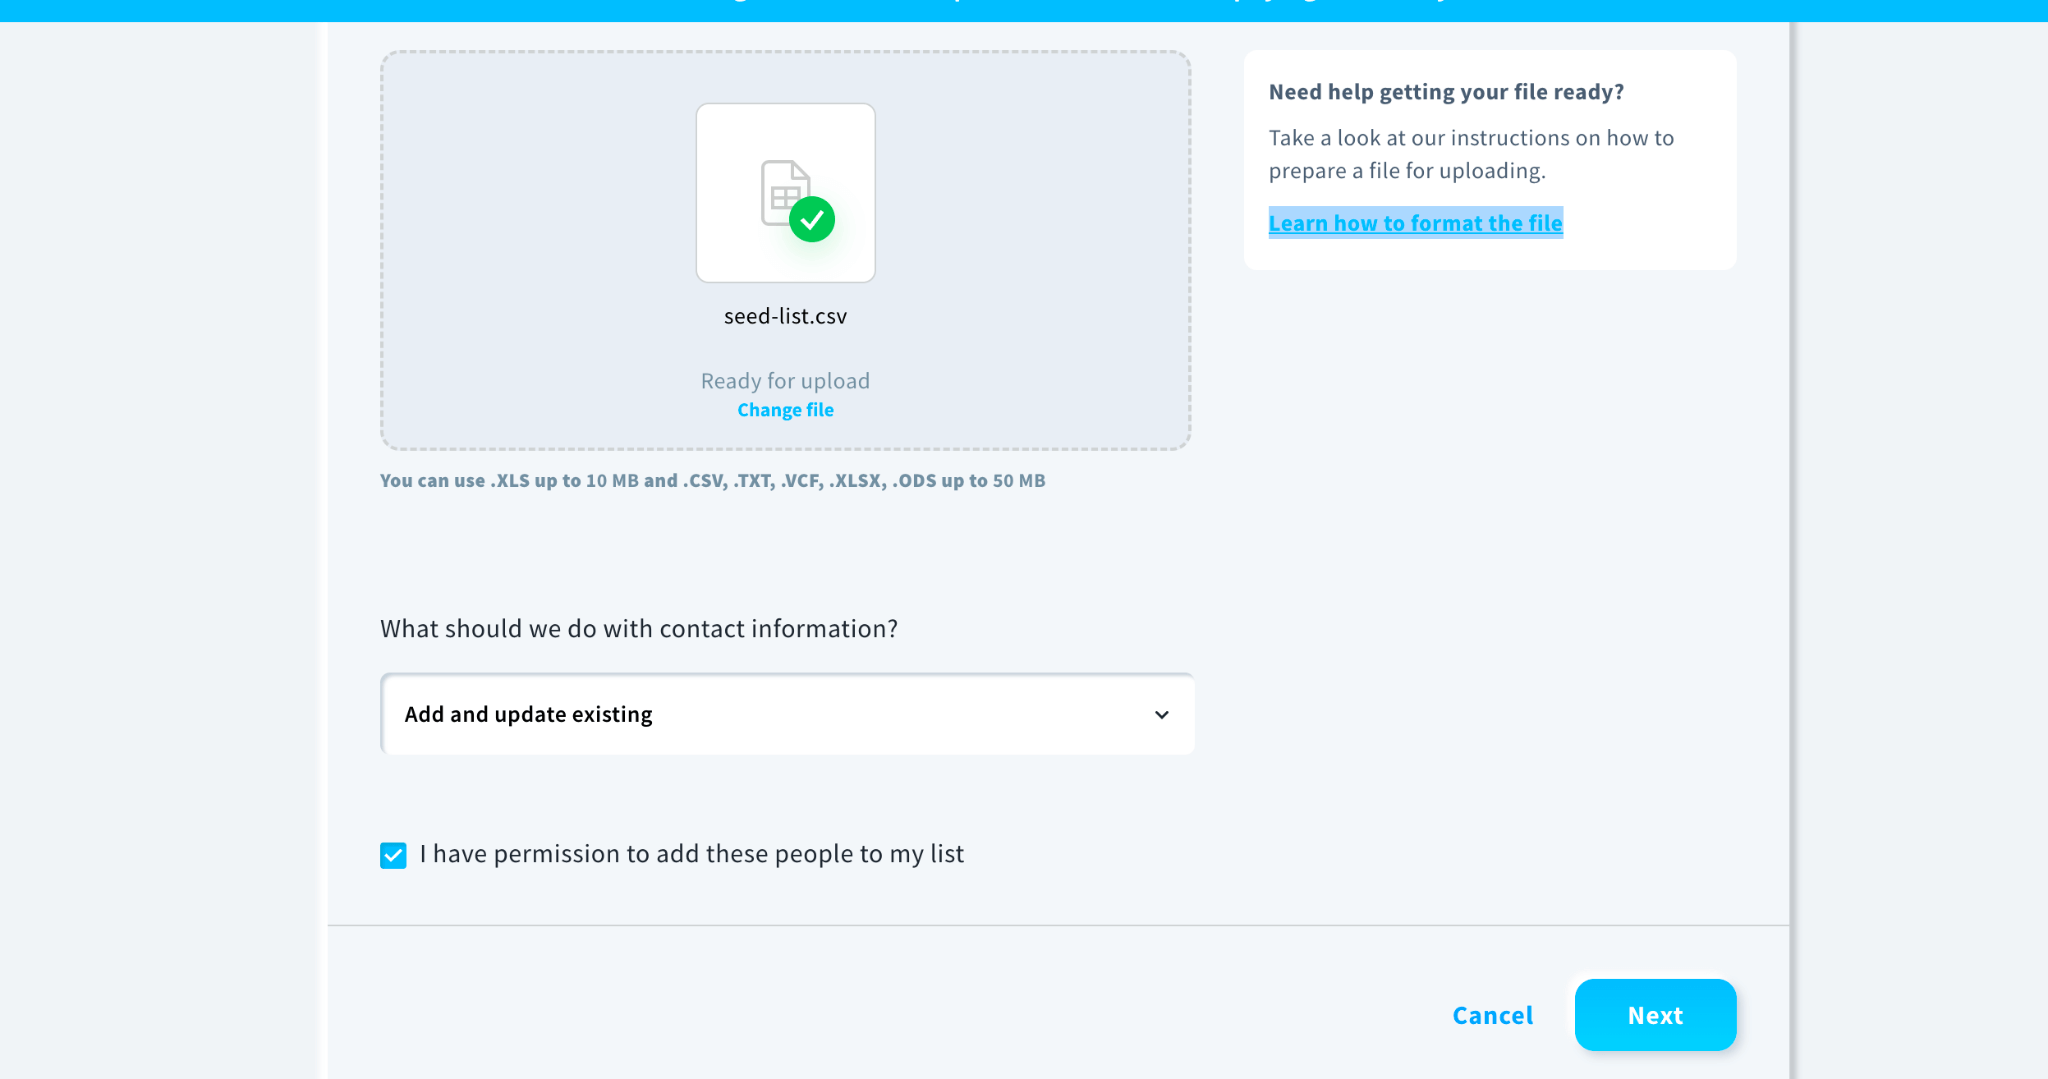
For this tutorial, we'll use the file upload method. This method is most beneficial for those of you who have your contacts stored in a CRM or another third-party marketing app.
Not to mention, it's particularly handy if you have a lot of contacts to upload. You just need to make sure that your contacts are well organized into columns. You can choose to upload a CSV file with just their email address, or you may choose to include other data such as first names, last names, company names, and more.
If you need some help formatting your file, GetResponse provides a free step-by-step guide within the upload window.
Mapping Your Contacts
After uploading your CSV file, ensure that your fields are correctly mapped. By this, we mean ensuring that your contact's first names are mapped to their first name, email address to their email, and so on.
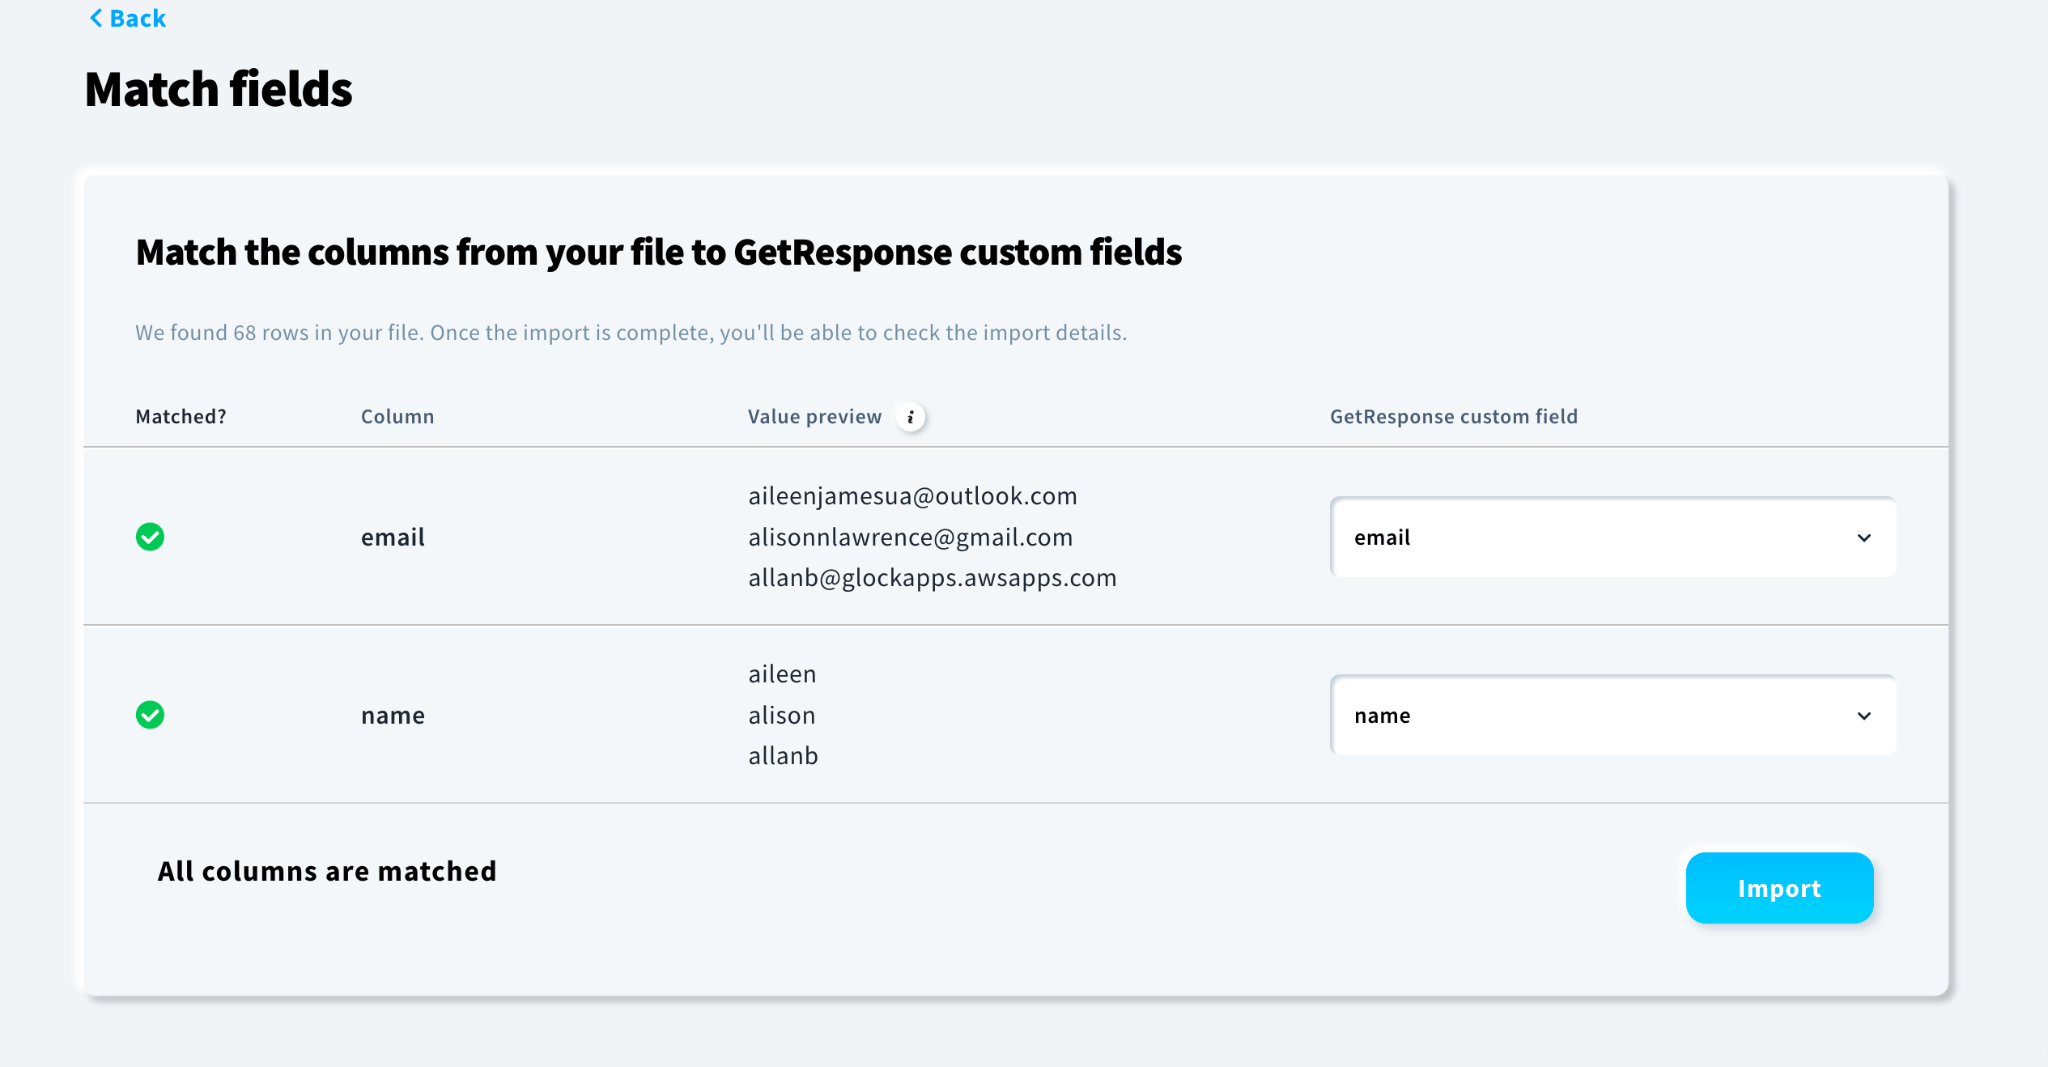
This step is crucial for those of you who wish to personalize your campaigns in the future. With this information properly mapped out, you can easily add your contact's first name to the subject line or email content, as well as segment your audiences by company and so on. This also helps to keep your contacts well organized. In general, it’s good to include a few details, for example, name, email address and company name.
Step 4: Crafting Your First Email Campaign
Now that your first contact list is ready and you’ve imported your contacts, it's time to embark on the exciting journey of creating your very first email campaign.
Choosing Your Email Creation Method
Click on the “Email Marketing” tab at the top and click “Create newsletter”. From here, you can choose to build a campaign from scratch, customize a pre-designed template with the drag-and-drop editor, or utilize the “create with AI email generator” (how exciting!).
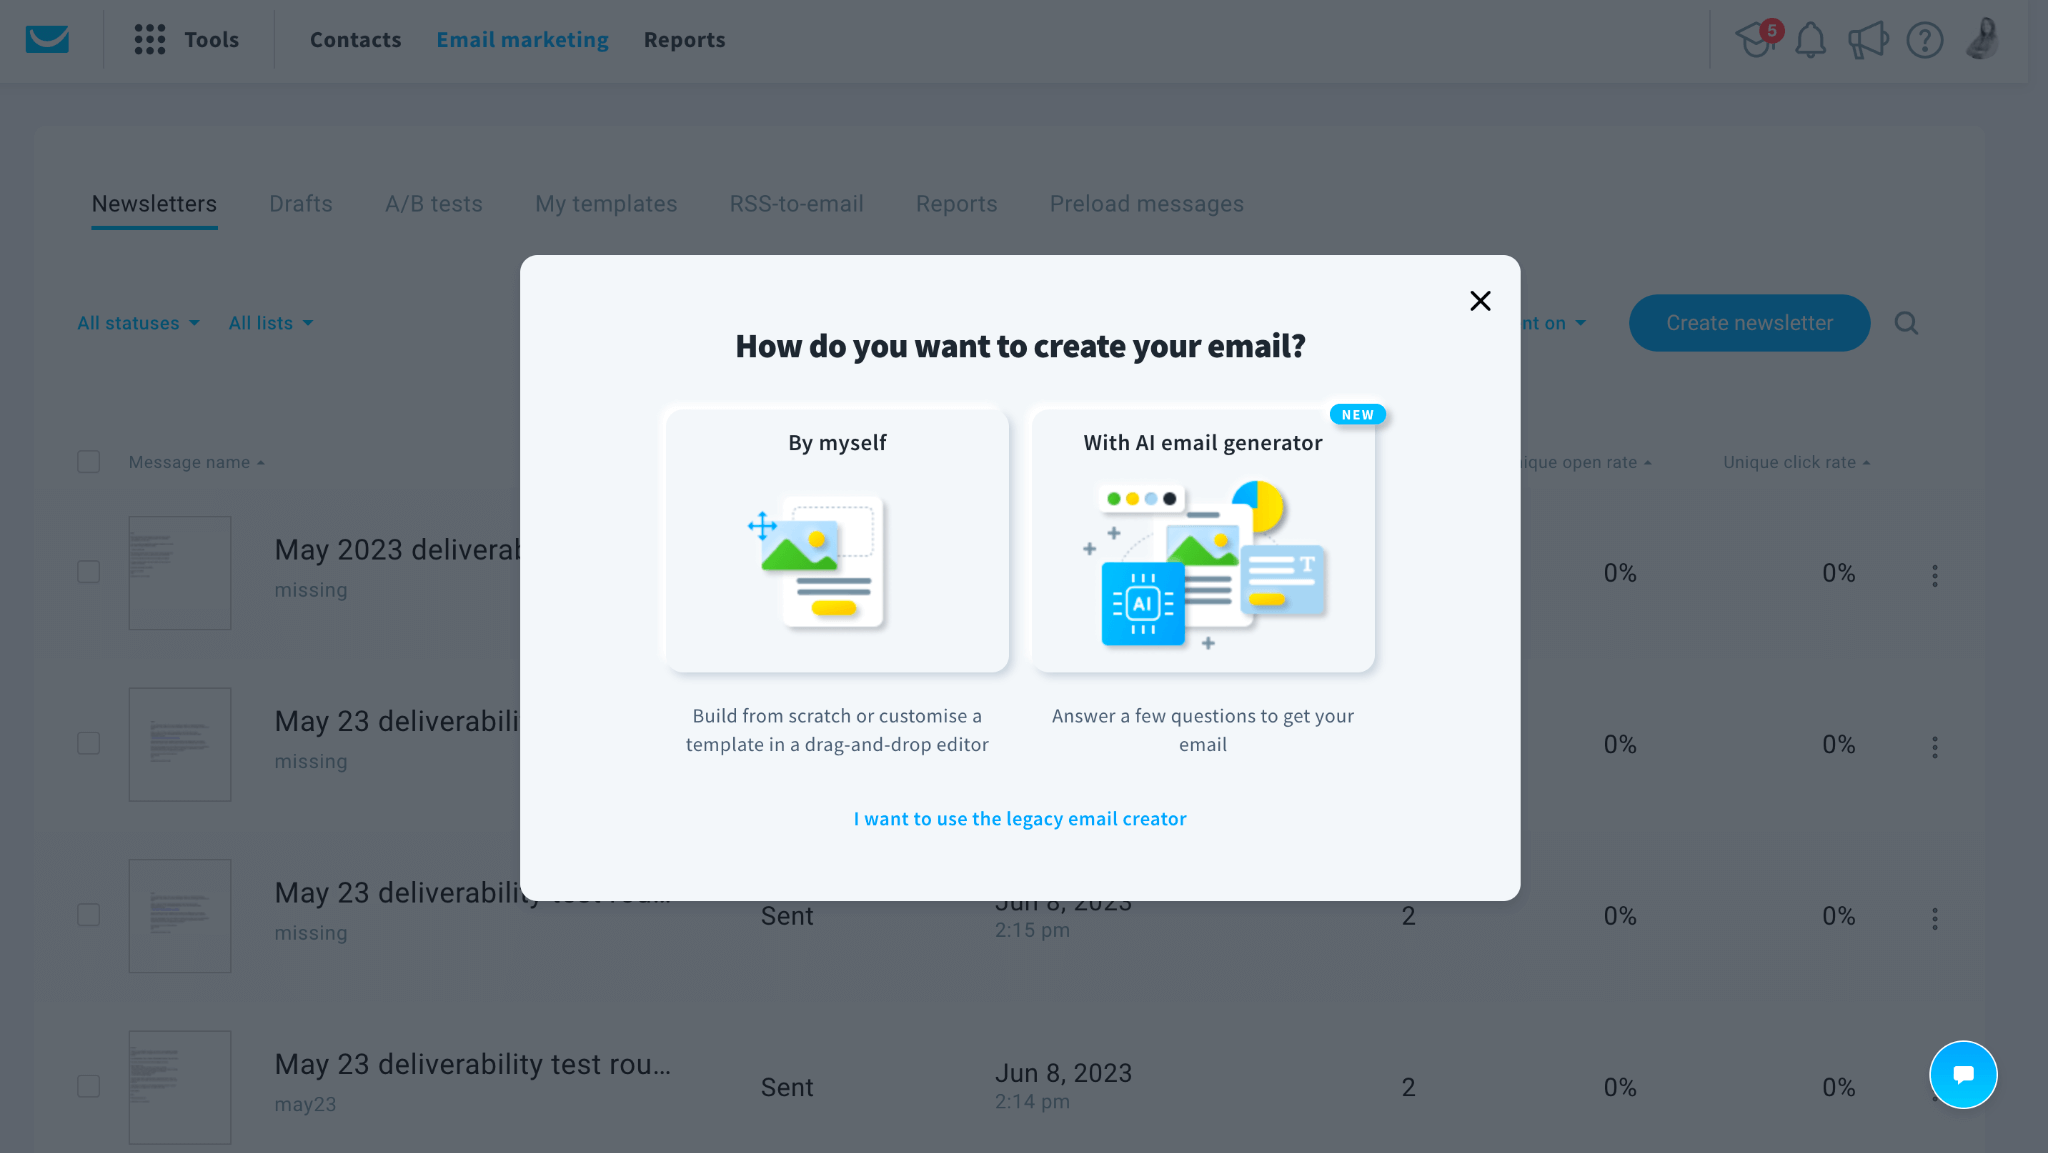
The AI email generator asks a few questions about your campaign's topic, your business, your audience, and the type of email you want to send. This can come in handy for those of you who are in need of some campaign inspiration, but keep in mind that you can only use it three times during the free trial. If you want to continue using it, you’ll need to upgrade to one of their paid plans for unlimited access.
Creating Your Email Campaign
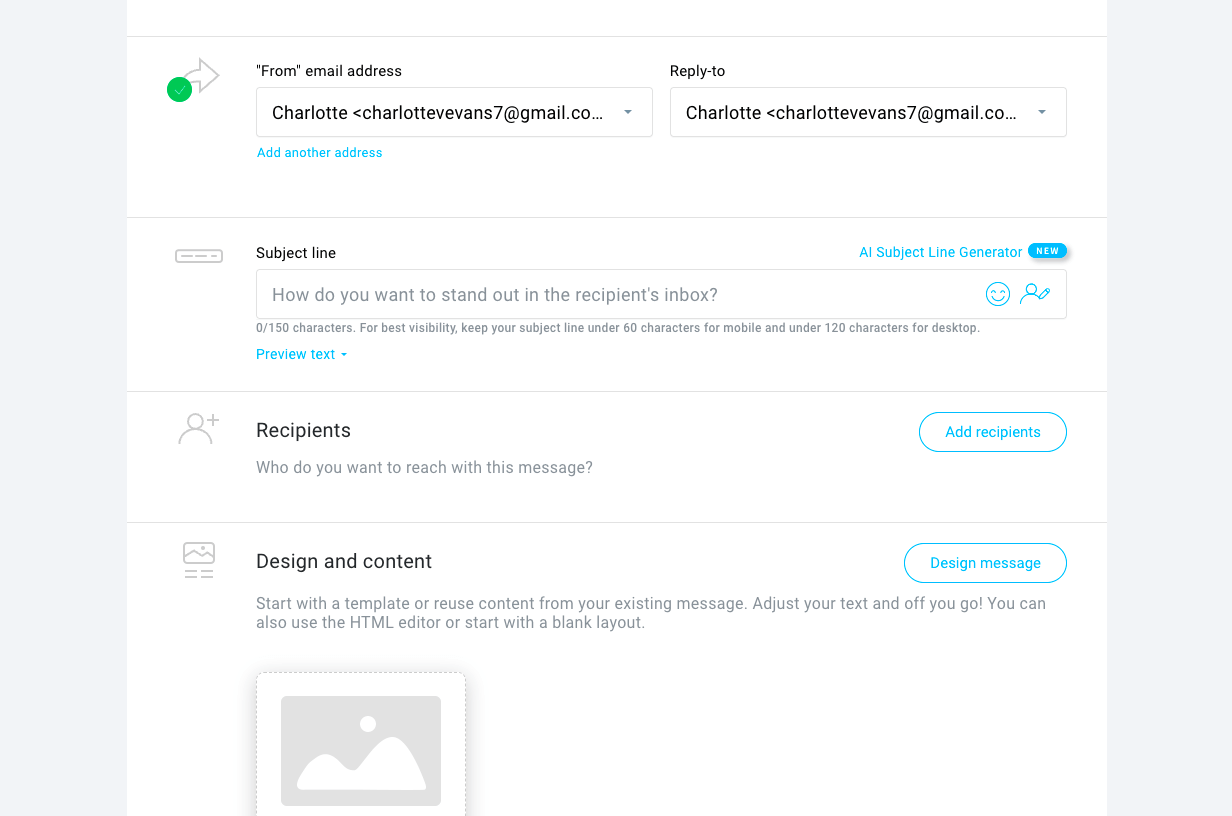
For this particular tutorial, we'll select the “By myself” email creation option, which involves using the drag-and-drop editor. After naming your email campaign, specify your From and Reply-to email addresses, and craft an engaging subject line. You can even test how it will appear in your audience's inbox. (We also have our very own subject line tester for you to use and play around with).
Designing Your Email
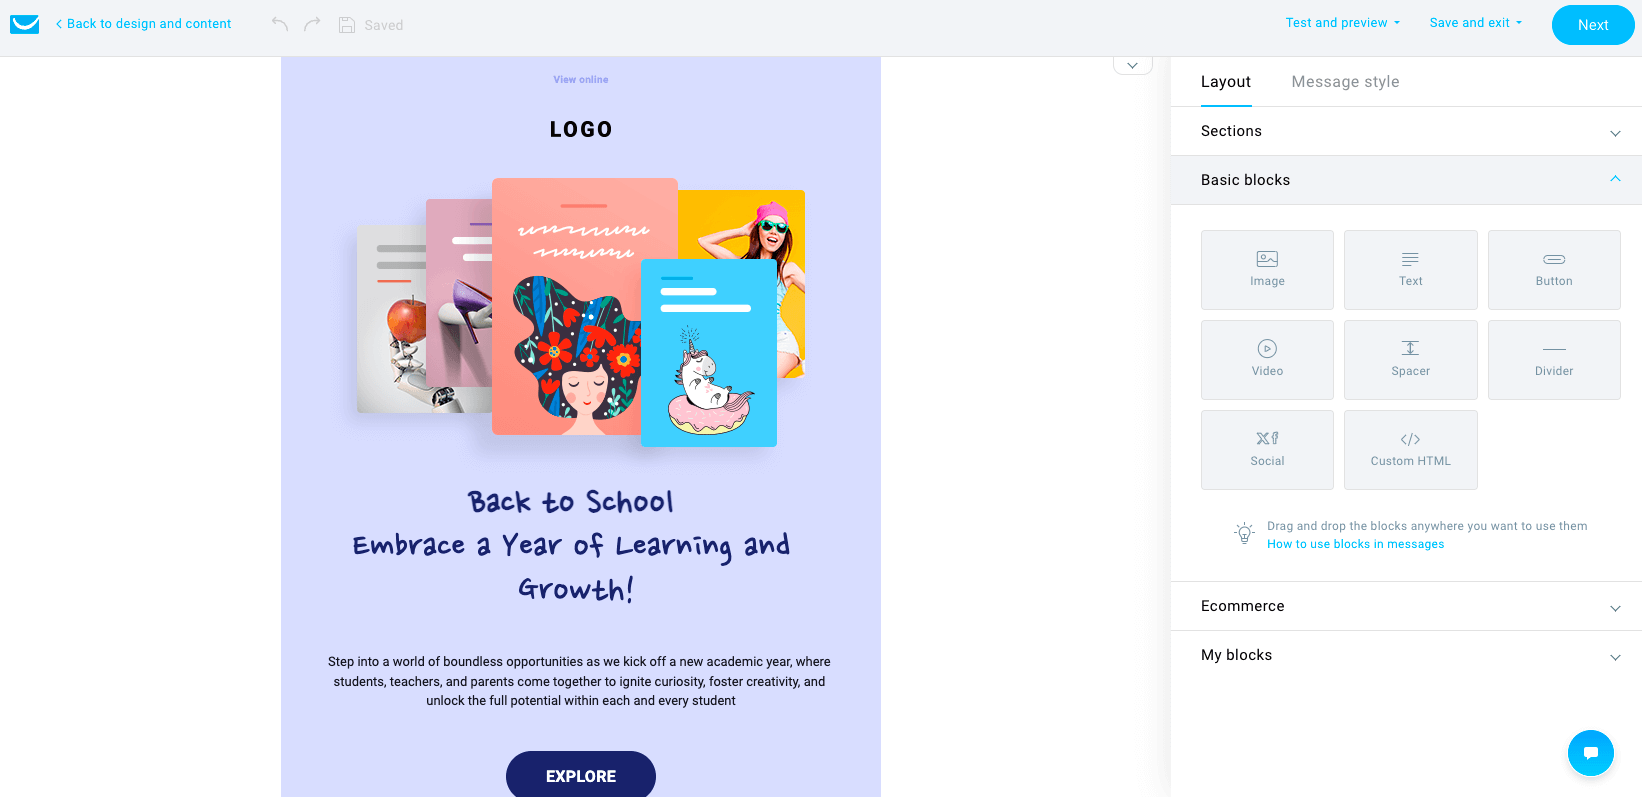
Next, select your recipients and start designing your email. You can choose from over 150 email templates across various categories or alternatively, you can create your own from scratch using blank templates or HTML coding.

Once you’ve selected your perfect template, use the drag-and-drop editor to add images, text, buttons, and more. Ensure your email is visually appealing and easy to read. After finalizing your design, save it and send a test email to yourself.
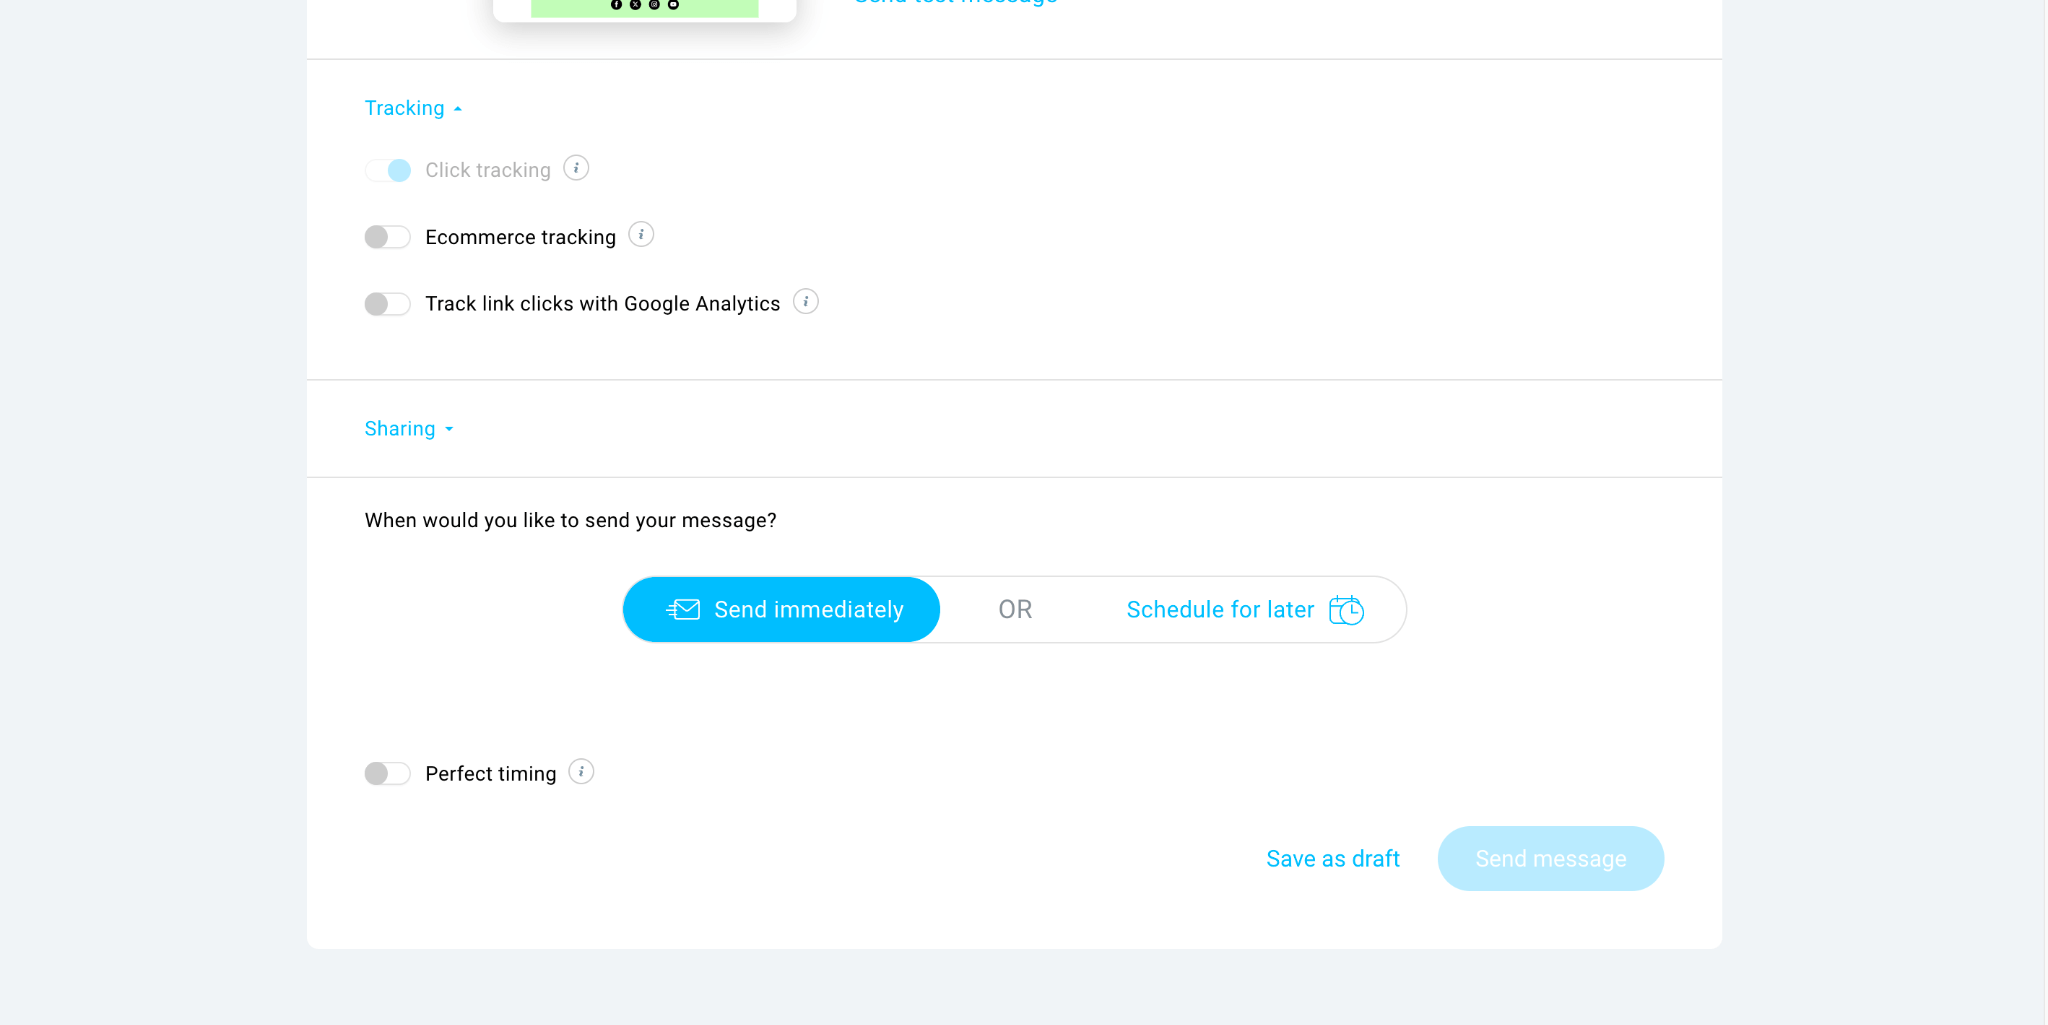
Scheduling and Sending Your Campaign
Once you've previewed your campaign in your inbox, it's time to send it to your contacts. You can either send it immediately or schedule it for a specific date and time. Check out our guide on the best times to send email newsletters.
And, congratulations, you've successfully created your first email campaign with GetResponse!
Check out our GetResponse video tutorial on YouTube:

GetResponse Tutorial: Final thoughts
We hope that our full GetResponse tutorial has helped you set up your account and send your first email campaign with ease. Thankfully for you, GetResponse is committed to offering excellent customer support. Beyond the convenience of live chat assistance, they offer an extensive array of resources tailored to cater to both newcomers and experienced email marketing professionals. So hopefully you won’t find yourself stuck at any part of your GetResponse journey.
If you’d like to find out more about GetResponse and its capabilities, you can check our full GetResponse review. We outline the pros and cons of the tool and answer any questions you may have in regard to its plans and pricing.
> Start sending your campaigns in GetResponse for free
The author
Learn more about us
We keep our content up to date
17 Oct 2023 - Added GetResponse video tutorial
Our Methodology
This article has been written and researched following our EmailTooltester methodology.
Our Methodology