At Tooltester, we use Google Workspace for our company emails. We've also published a full review and pricing guide for Google Workspace.
For a long time, we were even able to take advantage of the legacy free plan, which they now closed down unfortunately. Now we have to pay for every user, and that's why we recently looked into how we could reduce that user number to save costs.
One of the best ways is to take advantage of free forwarding email addresses. So without creating a new paid user, you can still create a new email address. This email address won't have its own account, but will rather just forward emails.
It lets you forward emails either to an existing email address within your Workspace account or even to an external email address (e.g. @hotmail.com, @gmail.com).
Setting up a forwarding email address (email alias) in Google Workspace
This is the setup process for domains you manage in Google Workspace.
- Login to your Google Workspace Admin area and go to:

2. Go to Users > User Name > Alternative Email Address and select the domain name:
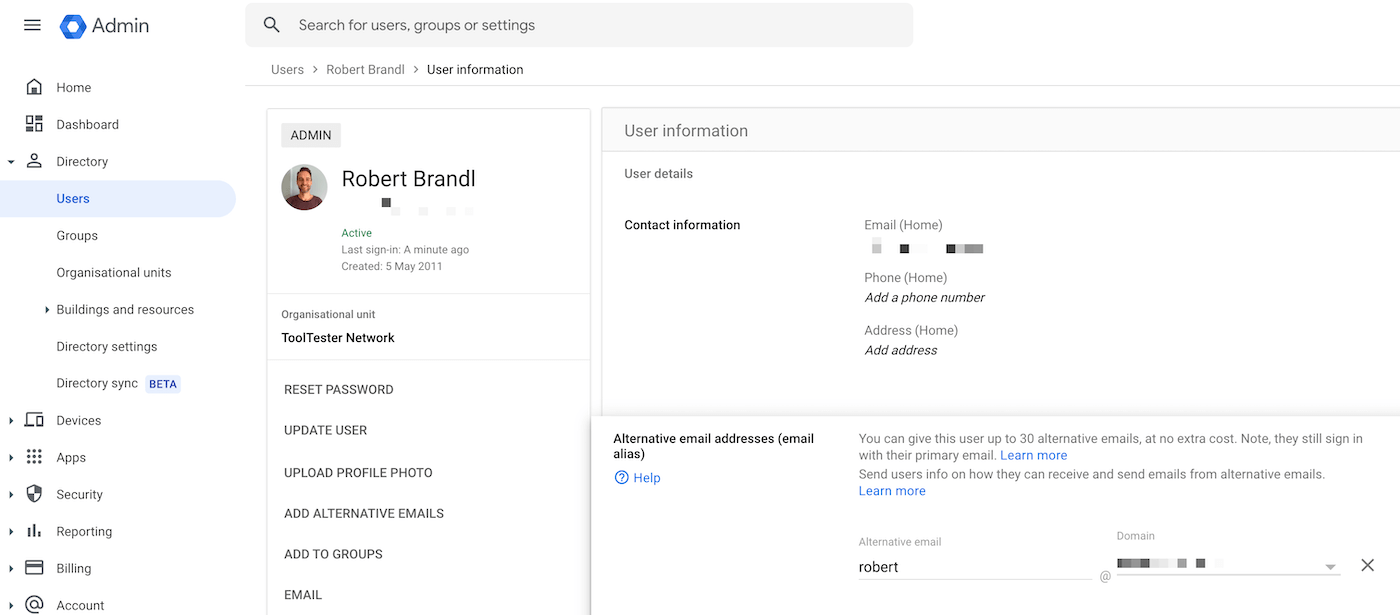
3. Enter your alternative email and press save.
That's all there is!
It's a little bit more complicated when you want to forward your emails to external recipients, i.e. to domains that are not in your Google Workspace account.
Here's how you set this up:
Setting up a forwarding email address to external recipients
1. Go to Apps > Gmail > Default Routing
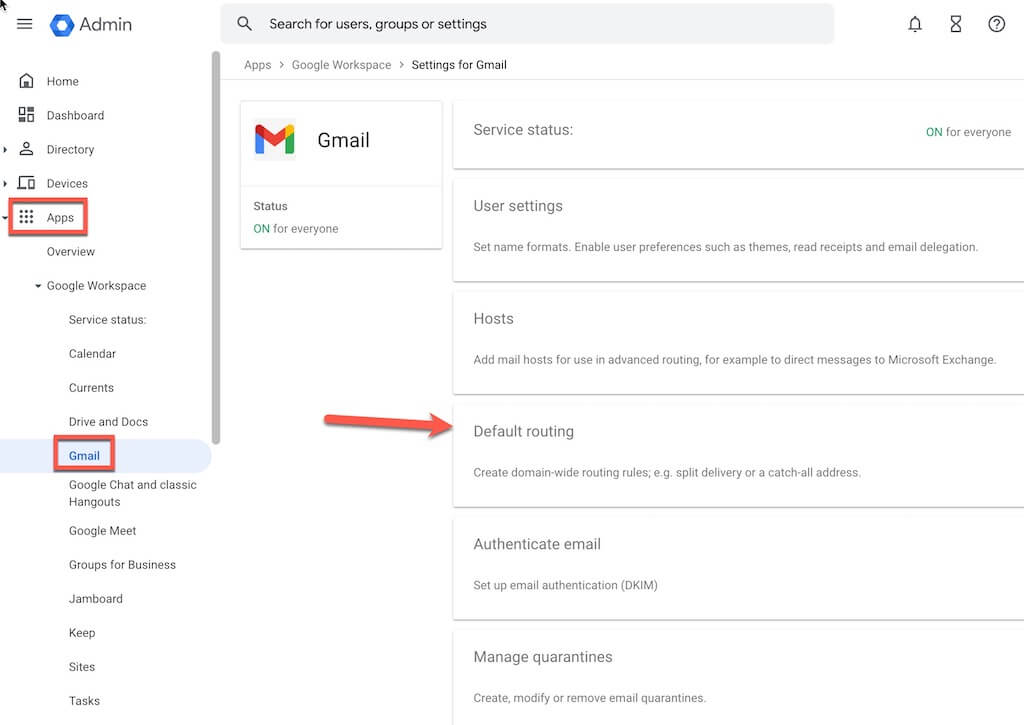
2. Click on: “Add Another Rule”
Where it says email address, enter the new email address you want to forward. Ignore the rest of the fields.

3. Where it says, “Add more recipients“, add the email address, which is going to receive the forwarded emails.
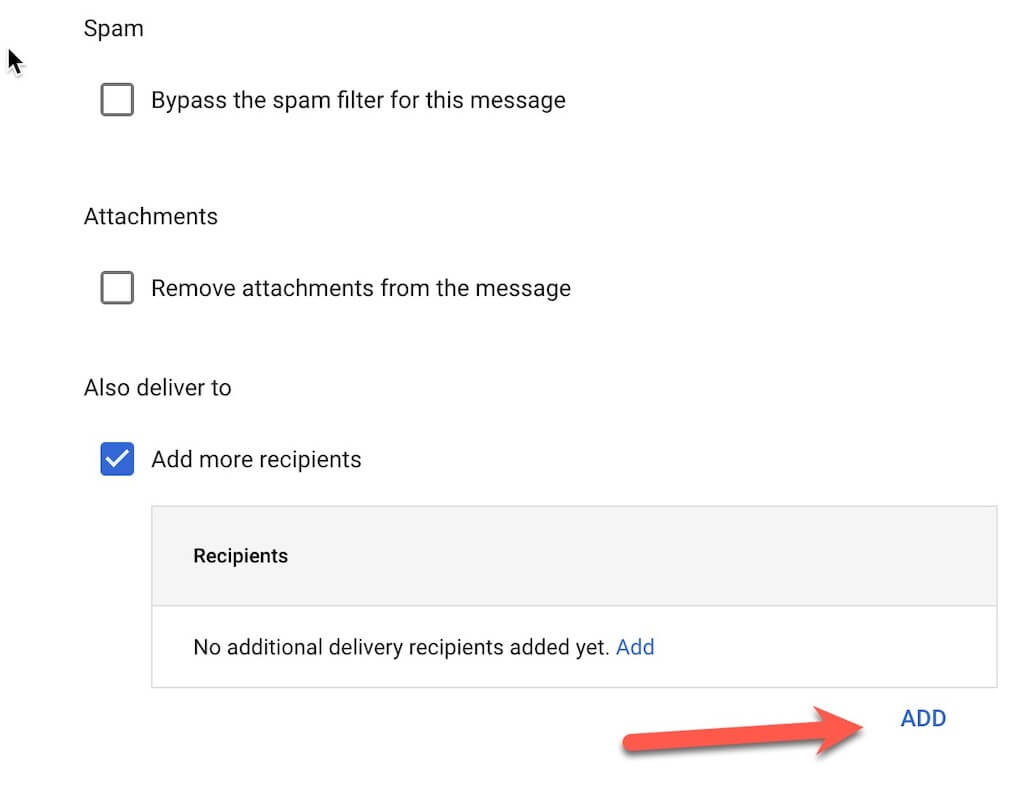
Make sure you select the option: “Perform this action only on non-recognized addresses“. This simply prevents the forwarding rule to apply in case you ever create a paid user account for this email address.
Please note that the forwarding probably won't work immediately. When I tested it, it took a few hours until it started to work.
I hope this tutorial will help reduce your monthly email marketing bill!
Hopefully, our guide was helpful! Let me know if it worked for you in the comments!
The authors
Learn more about us

We keep our content up to date
25 Apr 2025 – Checked for accuracy
12 Feb 2024 – Guide updated
Our Methodology
This article has been written and researched following our EmailTooltester methodology.
Our Methodology